
Chances are you’re storing your trailer somewhere cold this winter, which means you’ll need to winterize it in order to avoid disruptions or damage to your critical systems (plumbing, electrical, propane etc.). RecProtect is here to give you 7 simple steps to winterize your camper:
1. Clean and Inspect (Interior and Exterior)
Ensuring the interior’s clean gives you a “fresh-start” feeling when you start travelling again come spring, but it also prevents unwanted guests and surprises. Be sure to:
- Remove extra clothing/bedding
- Remove all food (cabinets and fridge)
- Inspect for any signs of mold
- Empty and clean fridge (turn off, empty, defrost, clean and dry)
For the exterior of the camper you will need to:
- Inspect roof for cracks in weather stripping and seals
- Clean and ensure no damage to slides and awning
Any observed damage must be addressed and repaired prior to storing for the winter.
2. Disconnect Batteries and Solar Panels
Cold temperatures cause damage to batteries. Batteries should be removed and stored indoors throughout the winter. Likewise, if you have solar panels on your trailers, it isn’t a bad idea to also disconnect them in order to avoid any hot wire issues that could arise. Finally, turning off propane tanks in case a leak was to develop is also advised.
3. Drain and Clean Waster Water Tanks
Black tanks need to be thoroughly cleaned so spring doesn’t welcome you with a distasteful scent. Alternating between opening and closing the valve, in five-minute increments, while the black tank flush is running is the best way to deep clean the system. Another way of cleaning this system, if you don’t have a black tank flush, is sticking a hose down your toilet.
4. Drain Water Tank and Lines
Water heaters are typically located through a panel outside. You’ll need to undo a large bolt that’s behind this access panel, there may be an anode rod attached to the bolt as well depending on the make/model of your trailer. Let the water completely drain before replacing the bolt and closing the panel.
5. Drain Water Heater
Water heaters are typically located through a panel outside. You’ll need to undo a large bolt that’s behind this access panel, there may be an anode rod attached to the bolt as well depending on the make/model of your trailer. Let the water completely drain before replacing the bolt and closing the panel.
6. Pipes
Caring for the pipes by either blowing the water out of the system or pumping antifreeze into the pipes will prevent the pipes from freezing and breaking during winter storage.
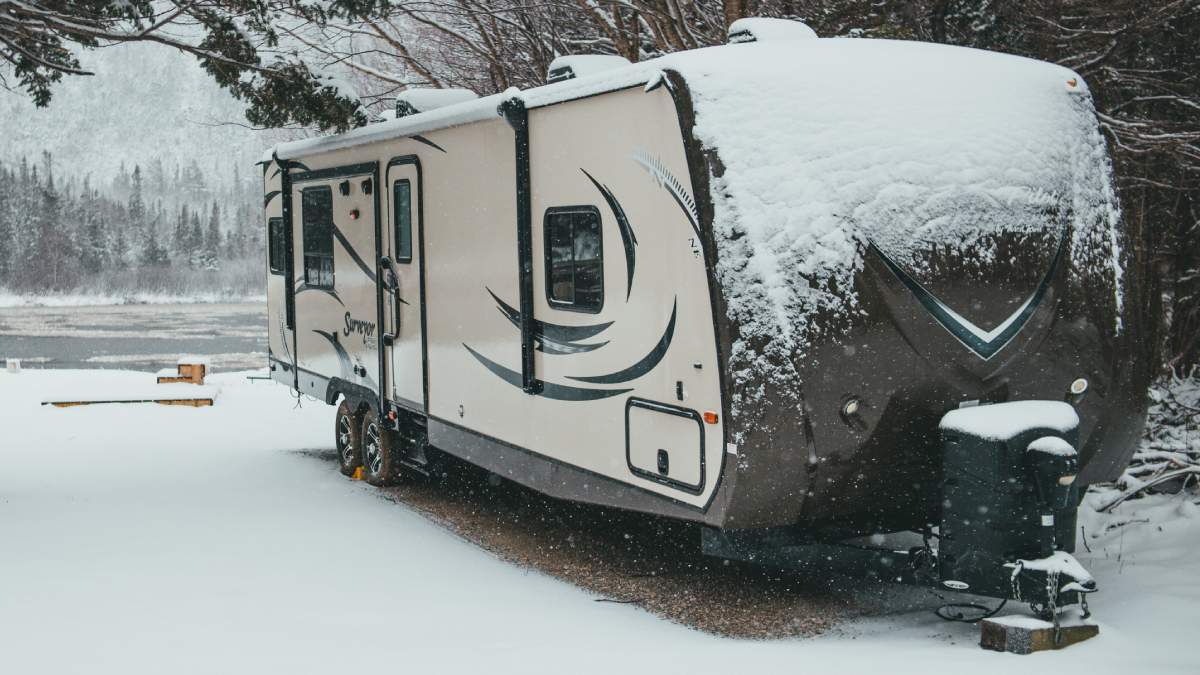
7. Storing your Travel Trailer Properly
Once the maintenance of your trailer is handled you need to ensure it’s being stored in a proactive way, as snow and ice exposure can cause issues. The best choice is to store your trailer in a covered location that can protect it from winter’s elements. However, if this isn’t an option, a traveler trailer cover provides at least one layer of protection from the winter weather it may be exposed to.
Ensure Year-Round Protection with RecProtect Trailer Insurance
Knowing how to winterize your trailer will make for a smooth transition come the opening season. Nevertheless, accidents do happen, and despite having carried out the proper winterization, your trailer can still be at risk. Because of this, we recommend getting comprehensive trailer insurance even when your trailer is not in use. With RecProtect, our coverage offers protection against potential risks, such as theft, vandalism, accidents, and unexpected damages. Prior to storing your trailer for the winter, we encourage you to review your insurance policy to confirm that you have the right coverage. RecProtect ensures you have the protection you need in case of any surprises come spring.